How to Add Google Analytics to a Next.js Application
The simplest way to add analytics to your website
Data is today the world’s most valuable commodity. So, understanding how your users are using your platform is crucial for taking your business to the next level.
And in the world of analytics, Google is the leader. And the great news is it’s completely free to use! :D
Today, we will see how to integrate Google Analytics into a Next.js application.
If you prefer the video format of this article, you can check
Let’s get started!
Step 1 — Get the key
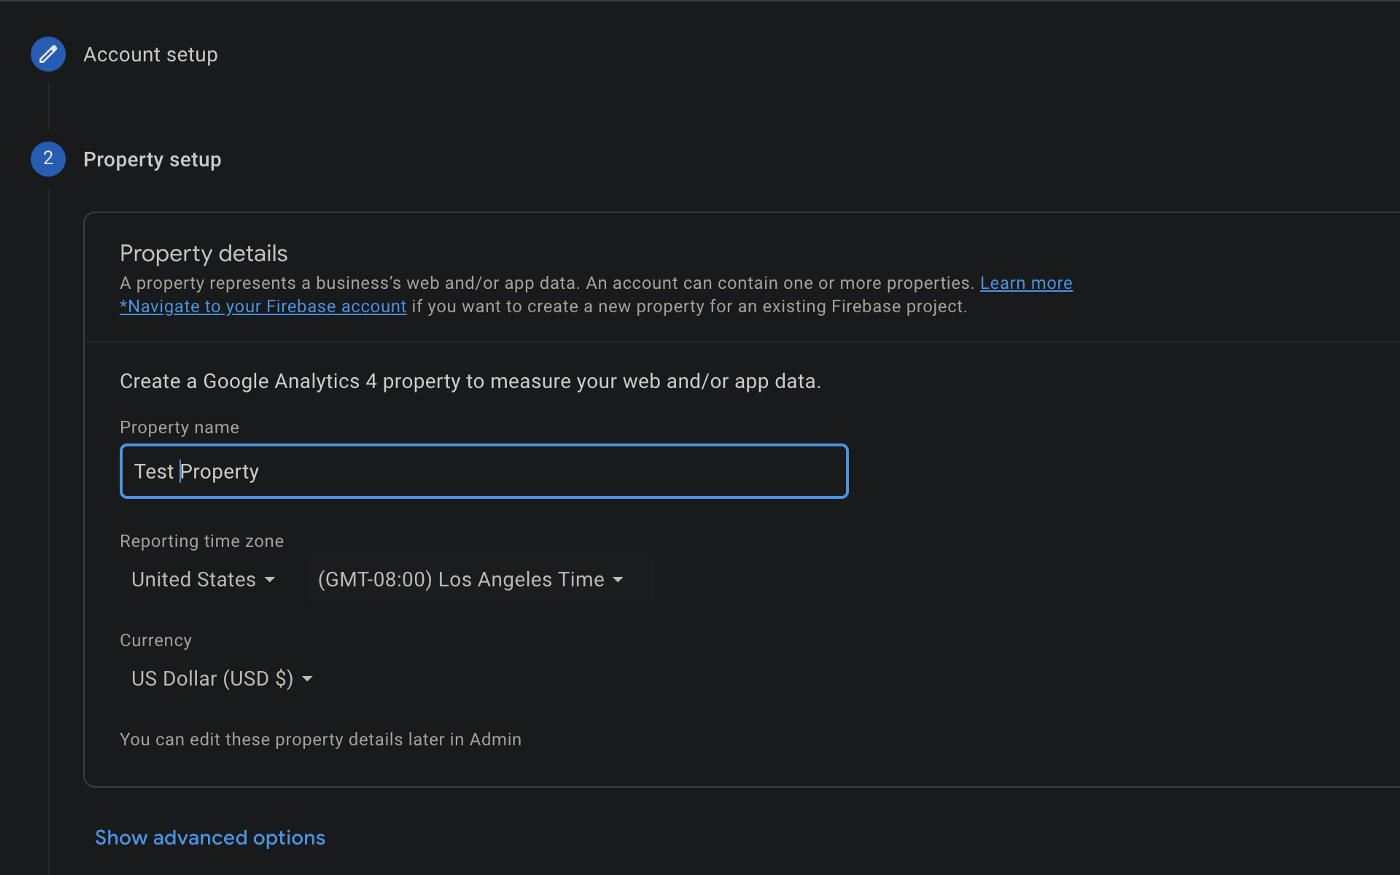
Create a new account on Google Analytics . When you register for the first time, you will be asked to add a new property.
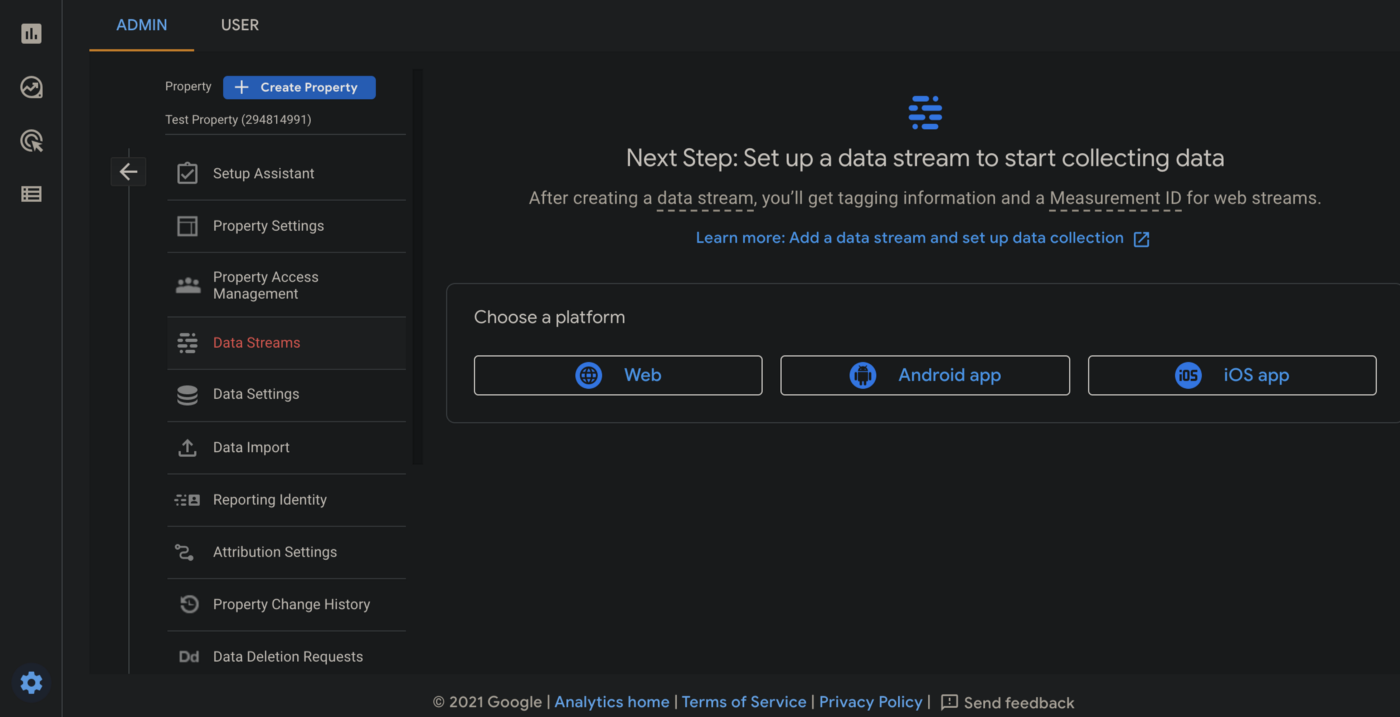
But if you already have a google analytics account, you can create a new property by going into the admin section of your account. Then you have to create a data stream. As we are doing this for the web, we will select web.
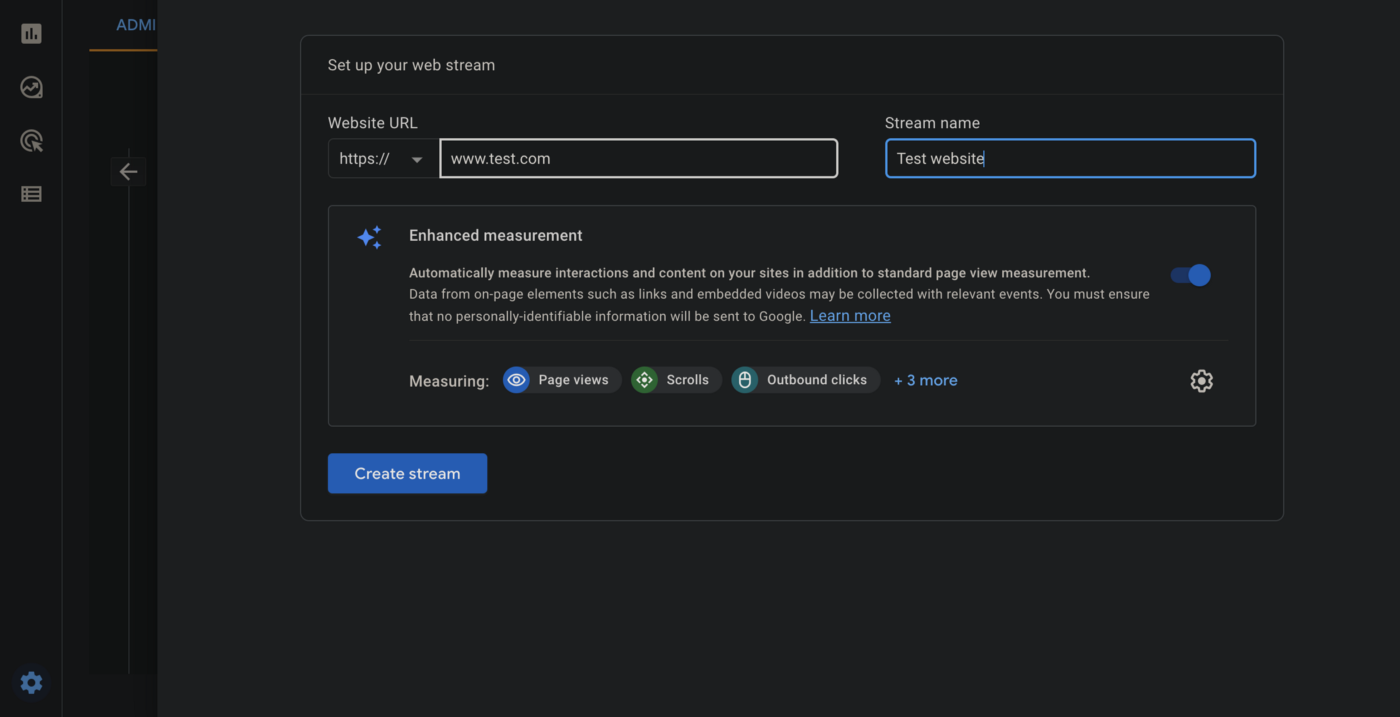
Then you will have to provide some details about your website. Put some dummy data for now and create the stream.
Now you will have to grab the Measurement IDwhich is the most important thing in the whole process.
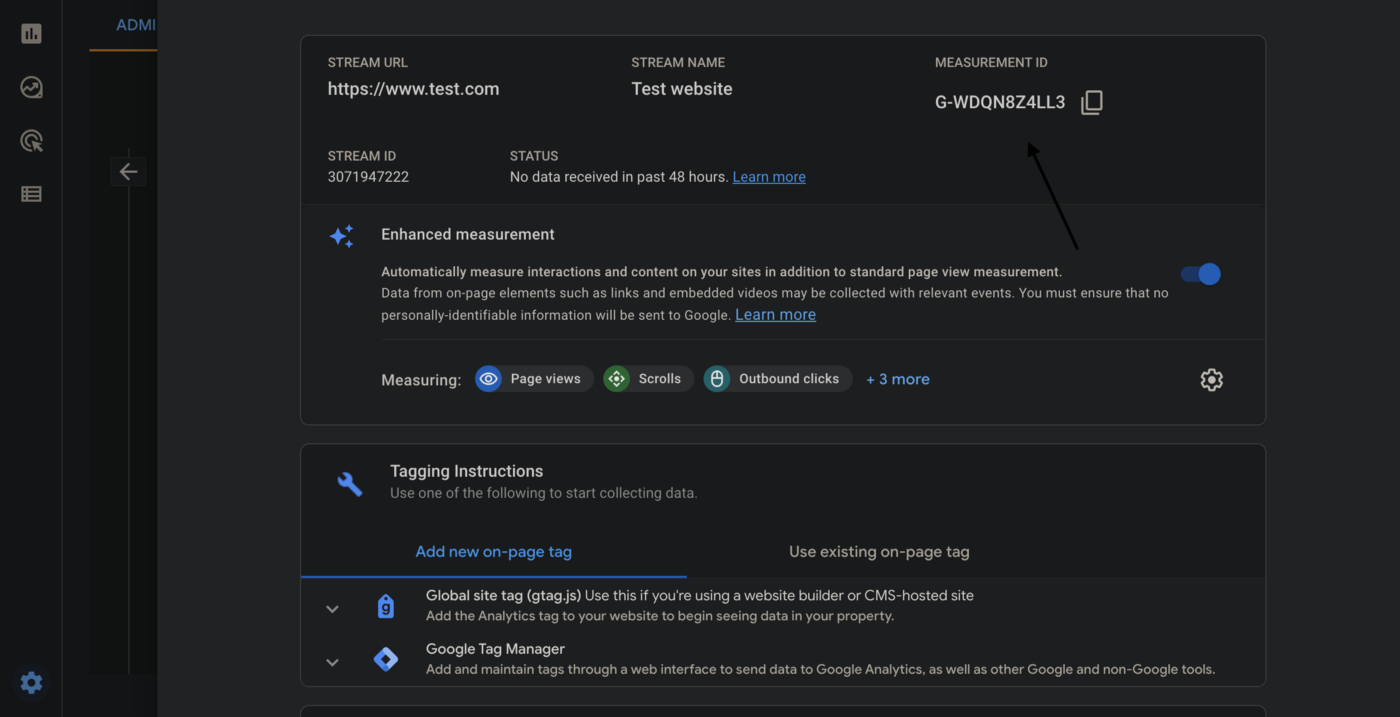
It will look something like the following G-XXXXXXXXXX . Copy that.
Now we are ready to add this to our actual project. Let’s do that!
Step 2 — Initialize the project
Create a new NextJS Project by running the following command:
npx create-next-app nextjs-google-analytics-demoStep 3 — Add to Environment
create a file named .env.local in the root of your project. And add the following code there. This can also be done directly into the code, but environment variables are better.
NEXT_PUBLIC_GOOGLE_ANALYTICS= 'G-S02J90JMSB'Step 4 — Load Analytics (App Router)
If you are using NextJS App Router then open the layout.tsx file under the app folder. This is the root of your project.
Then add the following scripts there
import Script from 'next/script'


export default function RootLayout({
  children,
}: {
  children: React.ReactNode
}) {
  return (
    <html lang="en">
      <head>

        <Script
          async
          src="https://www.googletagmanager.com/gtag/js?id=G-E7NY2W59JZ"
        />

        <Script id="google-analytics">
          {`
              window.dataLayer = window.dataLayer || [];
              function gtag(){dataLayer.push(arguments);}
              gtag('js', new Date());
              gtag('config', ${'${process.env.NEXT_PUBLIC_GOOGLE_ANALYTICS}'});
          `}
        </Script>
      </head>

      <body>
        {children}
      </body>
    </html>
  )
}
Save the file and refresh the page.
Step 4 — Load Analytics (Pages Router)
If you are using NextJS Pages Router, then,
Open the _app.tsx file and add the 2 script tags there
import { AppProps } from "next/app";
import Head from "next/head";
import React, { useEffect } from "react";
import "./styles.css";
import Script from "next/script";
import Router from "next/router";
function CustomApp({ Component, pageProps, router }: AppProps) {
return (
<>
<Script
strategy="lazyOnload"
src={`https://www.googletagmanager.com/gtag/js?id=${process.env.NEXT_PUBLIC_GOOGLE_ANALYTICS}`}
/>
<Script strategy="lazyOnload">
{`
window.dataLayer = window.dataLayer || [];
function gtag(){dataLayer.push(arguments);}
gtag('js', new Date());
gtag('config', '${process.env.NEXT_PUBLIC_GOOGLE_ANALYTICS}',{
page_path: window.location.pathname,
});
`}
</Script>
<Head>
<title>Welcome!</title>
<meta name="viewport" content="initial-scale=1, width=device-width" />
</Head>
<Component {...pageProps} />
</>
);
}
export default CustomApp;Step 5 — Check the browser
Run the app using the following command
yarn startAnd go to the URL http://localhost:3000 and open the console.
Step 6 — Check if Analytics is Enabled
Open the console on your browser and type dataLayer there.

If you see undefined then there was something wrong. If you see something like the above picture, then Congratulations! Your analytics is activated.
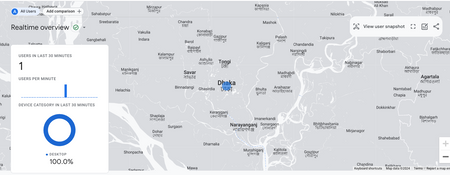
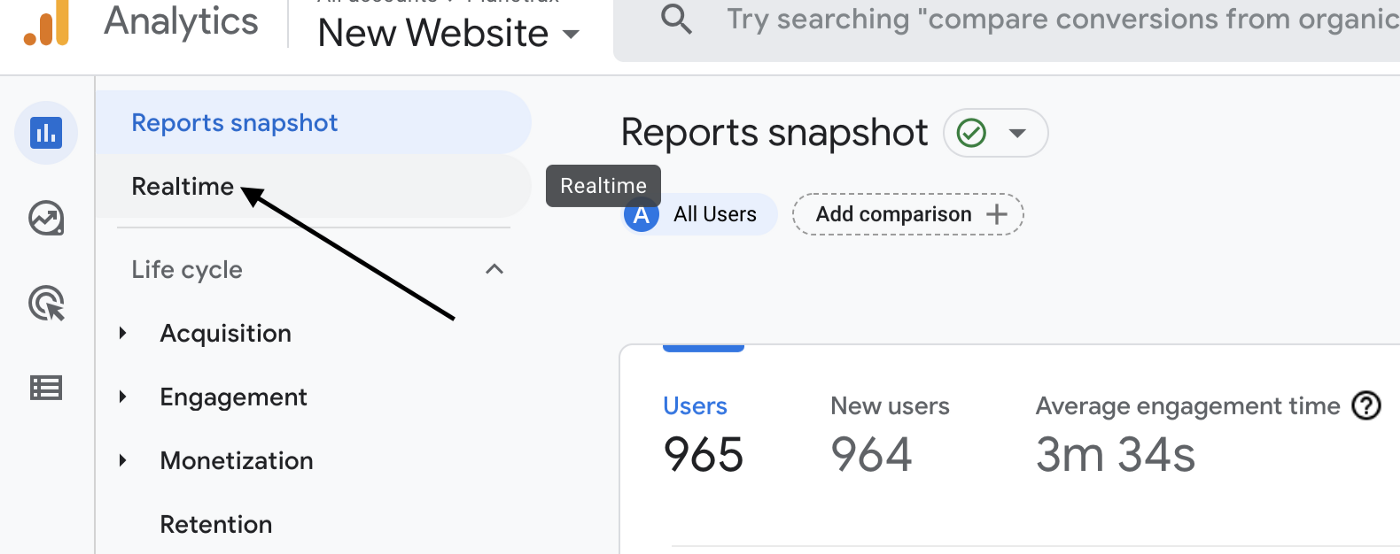
Step 7 — Check the Analytics Dashboard
Go to the dashboard and click on the live button, where you will see the information about the application in real-time!
That’s it for today. I hope you enjoyed this piece. See you in the next one.
Have a great day! :D